Playing squash solo is one of the best ways to hone your skills. With no opponent, you can focus completely on technique and consistency, groove your shots, work on footwork, and build fitness at your own pace. Here is how to train alone effectively, from gear and court setup to specific drills for accuracy, footwork, and fitness.
Why Practice Squash Solo?
Solo practice offers benefits a regular game cannot:
- Technique: the court itself is your training partner, so you can repeat a shot dozens of times to build muscle memory and accuracy. Practice with good form, since solo time ingrains habits good or bad, so learn correct technique first, then groove it.
- Concentration and consistency: with just you and the ball, the rhythm of striking is almost meditative; refocus on the ball whenever your mind wanders.
- Fitness and footwork: alternate hitting with court sprints or ghosting (explained below) to build speed and endurance and simulate the stop-start nature of real rallies.
- Convenience: no schedules to coordinate, and even a regular 30-minute solo hit leads to noticeable improvement.
Essential Gear for Solo Squash Practice
You need little beyond your usual gear, but these tips help:
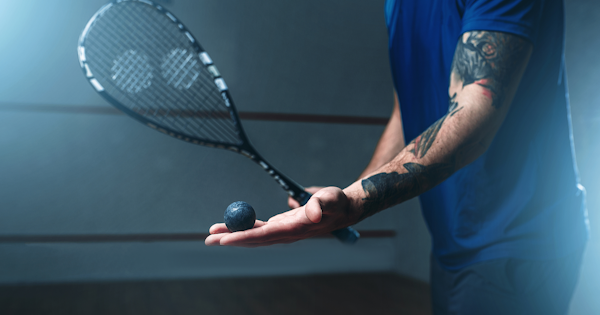
- Ball (right type): solo play makes it hard to keep a double-yellow dot squash ball hot, so use a bouncier ball, a single yellow, red, or blue dot for beginners, so rallies last. It is a myth that you must always train with a double-yellow; use the ball that helps you improve and step down in bounce as your power grows. Keep a spare ball in your pocket or non-racquet hand (during ghosting) to swap in when one cools.
- Racquet and grips: use your match racquet for a familiar feel and check the strings and grip. Bring a backup racquet in case of a rare string break.
- Safety: wear eye protection, since the ball ricochets unpredictably, and non-marking court shoes for grip during all the lunging.
- Targets: a sheet of paper taped to the front wall is ideal for drives, light enough that the ball still bounces normally; painter's tape can mark a target area, for example a line a few inches above the tin for drops. On the floor, a paper or coaster marks where the second bounce should land. Use smaller or closer targets as you improve.
- Cones or markers: place a few in the corners or along the side walls to mark lunge and volley positions for ghosting.
- Timer: a stopwatch or interval app adds structure (for example 2 minutes on, 30 seconds rest) and lets you count shots or targets hit to track progress.
- Optional tools: the court itself is the best tool; ball machines and reaction-light trainers add variety but are not needed.
Setting Up Your Solo Session: Warm-Up and Court Tips
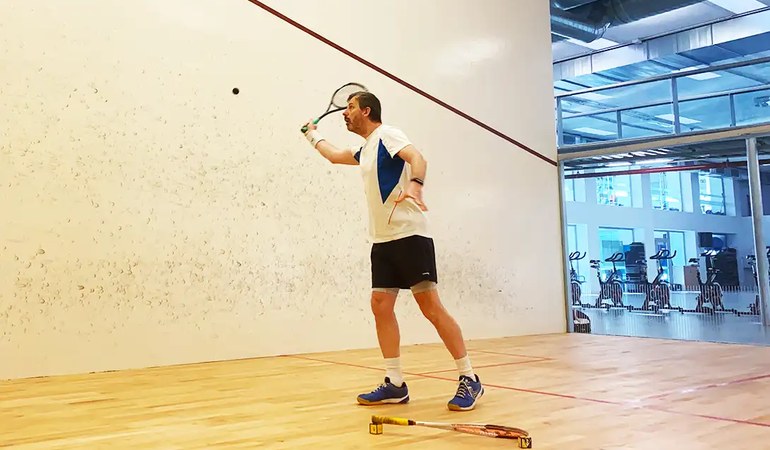
Warm up your body and the ball. Do a few minutes of dynamic stretching and light movement (leg swings, arm circles, lunges with torso twists, gentle jogs), then a brief hitting warm-up, lobs, volleys, and drives on both sides, to get your eye in. Solo players often forget the ball: spend a minute or two rallying at medium pace to get it bouncing, since a cold ball will not cooperate.
Practice with purpose. Set up targets so every shot has a goal (a foot above the tin for drives, the back of the service box for length). Mindlessly smacking the ball reinforces bad habits, and quality beats quantity, so five minutes of mindful, target-oriented hitting beats twenty minutes of whacking around.
Simulate real rallies. Recover toward the T after each shot, and feed yourself from realistic positions, from the back for drives, from the T for drops. Turn ball retrieval into footwork rather than a casual stroll.
Pace yourself. Solo training is mentally taxing, so take breaks, and spend about 5 minutes (10 at most) on one drill before switching, to avoid diminishing returns once fatigue sets in. With only 45 to 60 minutes of court time, rotate through a few key drills rather than doing everything. Start slow and keep accuracy over power; if your form slips, reset. Use the glass back wall, if your court has one, as a mirror to check your swing.
Drills to Sharpen Your Shot Accuracy and Control
Solo practice improves shot accuracy across drives, volleys, and drops. Always aim at a target and build consistency over time.
Straight drive to a target
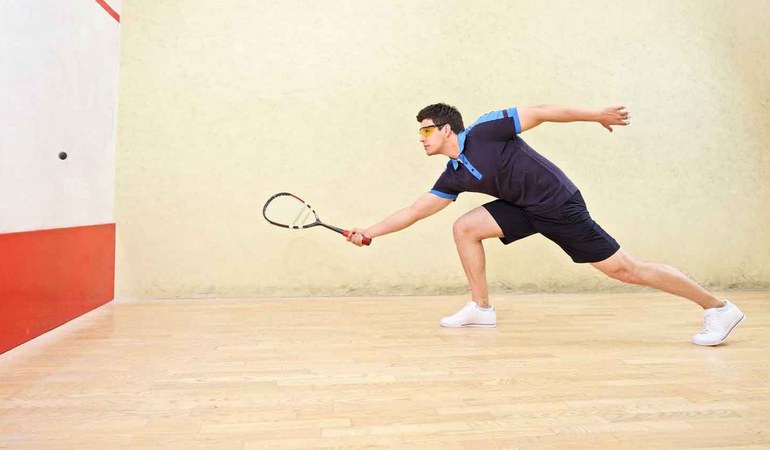
Stand in the back quarter and rally the ball straight to yourself along one wall, aiming at a target on the front wall, for example a sheet of paper a few inches above the service line, about a ball's width from the side wall, so the ball returns deep and bounces near the back of the service box. Vary height and pace, higher and slower for depth, lower and harder for a tighter shot, to control length with both touch and power. Count how many drives in a row, or how many target hits in two minutes, and beat your record. Do both forehand and backhand.
Stepping back volleys (the volley ladder)
Start a few steps from the front wall and hit short straight volleys to yourself; every 4 to 5 hits, step back one step. The farther back, the harder it is to keep the ball up. If the ball bounces or you mishit, start over at the front wall. Keep volleys shoulder-high and parallel to the side wall. Advanced players can reach the back wall, then ladder forward again; beginners can start by tapping gentle volleys against a side wall one step in. It builds racquet control, hand-eye coordination, shoulder endurance, and cardio.
One foot in the box volley challenge
Stand with one foot inside the service box and volley straight to yourself as long as possible without moving that foot, so you must reach and adjust your torso for wide balls. It simulates volleying while holding position near the T and trains your reach and wrist. Make it harder with higher, lower, or faster volleys. Do both sides.
Solo drop shot practice
Use a feed-and-drop routine: from the T, feed the ball so it comes off the front wall to around the service line, then move forward, get low with a bent front knee, and guide a drop into a front corner, aiming at a floor target (a sheet of paper against the side wall a couple of feet from the front wall). Count good drops out of ten and improve the percentage next time. Vary the feed position to practice drops from mid-court and deep, and try crosscourt drops (throw up a high ball on the backhand side and volley-drop it to the opposite front corner). A drive-drive-drop combo, two deep drives then a soft drop, trains switching between power and touch on command.
Figure eight volley (advanced angles drill)
From near the T, volley to the front-right corner (front wall, then right side wall, back to the middle), then volley that ball on the backhand to the front-left corner, and repeat, so the ball traces a figure eight around you (forehand, backhand, forehand, backhand). Let it bounce once at first, then progress to pure volleys. Control angle and height: too high and it flies out of reach, too low and you tin it. Do 30 seconds to a minute at a time, since it is tiring and strains the wrist. Progress by hitting two volleys into the same corner before switching, or adding the back corners for a full-court version.
Side-to-side boast-drive drill
Hit the ball into one side wall at an angle so it bounces off the opposite side wall toward the middle, a three-wall boast, then hit it into the other side wall, continuously, a wide figure eight using the full width of the court. Aim for the rebound to stay around the service box, then tighten to the side walls; for an extra challenge, try to hit the service line on the front wall with each shot. It develops reading balls off side walls and the deception that comes from a similar swing setup for straight drives and boasts.
Whatever the shot, keep the core principle: have a target and hit with intent. Shrink your targets as your aim improves, until shots that used to be lucky in matches become routine.
Footwork and Fitness: Solo Drills for Movement and Stamina
You also need to reach the ball in time, which is what ghosting trains: moving around the court to imaginary-rally positions without a ball. Start at the T, sprint or shuffle to a corner, swing or touch the floor to mimic a shot, then recover to the T and go to another corner. It drills your split-step, your lunges, and the habit of recovering to center after each shot.
High-intensity ghosting (speed and stamina)
For explosiveness and endurance, set a timer for 60 seconds and count round trips from the T to a corner and back, or time how long 20 ghosts take and beat it next session. Make it random: mentally number six positions, the four corners plus mid-right and mid-left walls for volley interceptions, and have a friend or app call them, so you push off in all directions unpredictably. Keep intensity high; 3 to 4 sets of one-minute all-out ghosting with a minute of rest gives a squash-specific cardio workout. Start with 30 seconds on, 30 seconds rest, and build up, and do not overdo it, since fatigue ruins form.
Slow-paced ghosting (technique and efficiency)
Move at about 50 percent effort, controlled, corner to corner, staying low with light steps and a balanced swing at each ghosted shot. Use markers to step exactly to where you would hit. Focus on split-step timing, your step count, and which leg you lunge with; slowing down lets you analyze and fix footwork patterns, like a dancer rehearsing in slow motion. Do a minute or two, reflect on what felt efficient and what felt awkward, then gradually speed up while keeping that efficiency.
Combine ghosting with hitting
Alternate hitting and footwork to keep the session dynamic and match-like, for example hit drives for 3 minutes, ghost for 1 minute, volley for 3 minutes, ghost again. The ghosting bursts raise your heart rate, so you train to hit accurately when winded. In the ghost and swing variant, hit one shot, immediately ghost to another part of the court and back, then hit the next, so you never stand admiring your shot. Hold the ball in hand or ghost with your racquet to mimic match feel.
A note on form during footwork drills
Return to a balanced ready position at the T, with a split-step, after each ghost or shot, and recover toward center as the ball travels in hitting drills. It is easy to loaf when you know where the ball is going, but disciplined movement builds the muscle memory that makes returning to the T automatic. If your form collapses from fatigue, rest. Consistency is key: a couple of ghosting sessions a week noticeably improve your court coverage within a month or two.
Structuring a Solo Practice Session
Give your practice structure so you cover a mix of skills without overdoing any one. An example 45 to 60 minute session:
- Warm-up (5-10 minutes): 2 to 3 minutes of dynamic stretching and mobility, then a light ghosting jog and easy hitting on both sides to warm the ball, breaking a light sweat.
- Accuracy drills (10-15 minutes): while fresh, about 5 minutes of straight drives on each side targeting a length, plus a few minutes of drop-shot feeds on each side. Keep each segment around 5 minutes for focus.
- Volley drills (5-10 minutes): the stepping-back volley ladder or the one-foot-in-box challenge, both sides (for example 2 minutes forehand, 2 minutes backhand); advanced players add 1 minute of figure-eight as a finisher.
- Footwork and fitness (5-10 minutes): high-intensity ghosting intervals (for example 1 minute hard, 1 minute rest, repeated, or 3 sets of 30 seconds on and 30 seconds rest), or substitute court sprints (front wall and back five times) or star drills (touch all four corners quickly). Stop if your form collapses.
- Cooldown (3-5 minutes): walk or light-ghost to lower your heart rate, then static-stretch the calves, quads, hamstrings, glutes, shoulders, and back.
Adjust the emphasis by day. A few structuring tips:
- Alternate intensity: follow a tiring ghosting burst with a slower drop-shot drill, which also keeps the ball warm.
- Limit focus areas: pick two or three per session (with 30 minutes, just two) rather than spreading thin across eight skills.
- Track progress: log personal bests, such as longest volley rally, targets hit out of 20, or fastest time to do 10 ghosts, to stay motivated.
- Stay engaged: set mini-goals (10 good drops in a row), vary the drill order, and switch drills if one is not working that day.
Making the Most of Solo Practice

A mix of drills, some for accuracy, some for footwork, some for fitness, covers every aspect of your game. A few final tips:
- Be patient and consistent: improvement takes time, and 2 to 3 short focused solo hits a week beat one exhausting marathon.
- Quality over quantity: ten well-executed shots with full concentration beat fifty half-hearted ones, so refocus on a target or cue whenever you catch yourself going through the motions.
- Mix solo and match play: solo time sharpens tools so you can use them in games; end a session by visualizing a real point using the shots you just practiced.
- Enjoy the process: note the small wins, like finally hitting a target five times in a row or lasting an extra 10 seconds in the figure-eight volley.
Squash is one of the few sports where you can practice nearly every aspect by yourself, so grab a ball, keep it focused, and spend some quality time with the wall.